Quick Facts
- Category
- Nage-Waza
- Subcategory
- Ashi-Waza
- Difficulty
- Beginner
- Belt Level
- 6th kyu, 5th kyu, 4th kyu
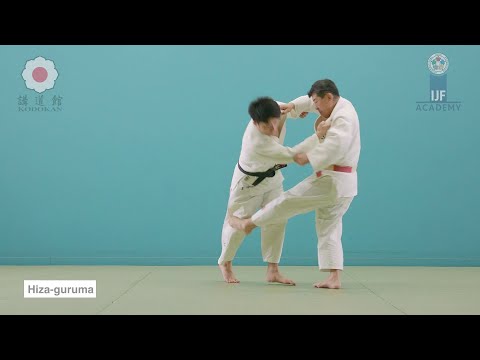
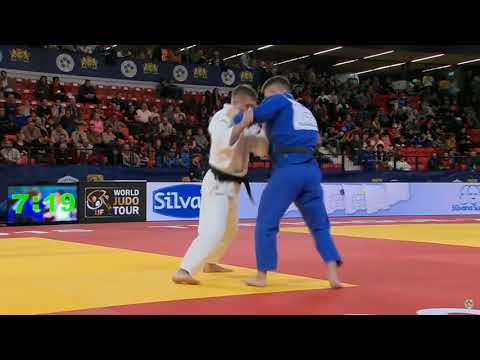
Hiza-Guruma is one of the first foot and leg techniques taught in judo. Tori places the sole of their foot against uke's knee and uses a coordinated arm pull to wheel uke over that point. The knee acts as the fulcrum of a wheel — uke's body rotates around it and falls to the mat. It is a foundational ashi-waza technique that teaches the essential principle of blocking a moving limb and redirecting uke's momentum.
Hiza-Guruma — Step by Step
Step back on your left foot to draw uke forward into motion. Pull uke's sleeve arm sharply forward and downward, while the lapel arm draws upward. Uke's weight shifts to their right front corner as they step forward to maintain balance.
As uke steps forward with their right foot, place the sole of your left foot against the outside of uke's right knee — the contact point is the sole of the foot on the knee joint, not the shin or ankle. Your foot should be placed as uke's foot is lifting, not when it is planted. Maintain your balance on the right leg.
As uke's right foot is in the air, press your left foot firmly against their knee to block it from advancing. Simultaneously pull uke's sleeve arm in a large circular arc downward and to your left, while the lapel arm pushes upward and to your right. The combined arm rotation and knee block wheels uke forward and to the mat.
- 1
Initiate movement — step back
Step backward with your left foot to create motion, drawing uke forward. Your arms pull to encourage uke's stepping momentum.
- 2
Identify and time uke's step
Watch for uke's right foot to lift off the mat as they step forward. The moment the foot lifts is your entry window.
- 3
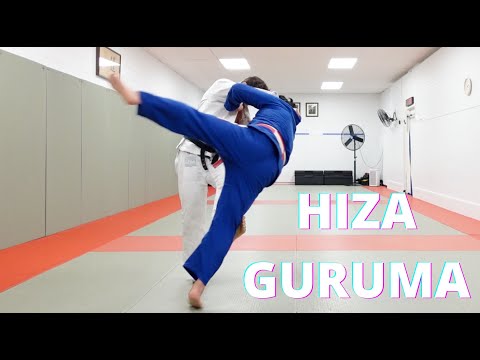
Place the sole of the foot on the knee
Lift your left leg and place the sole (not the toe, not the shin) against the outside of uke's right knee. Your leg is slightly bent, not locked straight.
- 4
Coordinate arm action with foot placement
As your foot contacts uke's knee, pull the sleeve arm in a large downward arc to your left while the lapel arm lifts and rotates to your right.
- 5
Complete the wheel
Maintain foot pressure on the knee as uke's body rotates over it. Follow through with the arm action, staying balanced on your right leg, until uke lands on the mat.
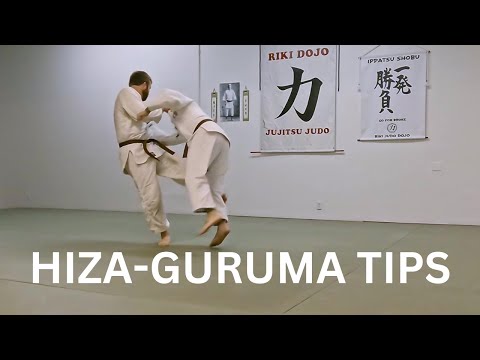
What Makes It Work
- Timing is everything — the foot must contact the knee when it is in the air, not when uke's weight is on it.
- Use the sole of the foot, not the shin or ankle, for safe and effective knee contact.
- The arm action (sleeve pull, lapel push) creates the rotation; the foot merely blocks the wheel's axle.
- Step backward first to generate uke's forward motion — a static uke cannot be wheeled easily.
What to Avoid
Placing the foot when uke's weight is on the knee
Contact must happen when uke's foot is off the ground. Pressing against a loaded knee is ineffective and potentially injurious.
Using the toe or shin instead of the sole
The sole provides a broad, safe contact surface. Toes can buckle; the shin can slide off the knee.
Arm action is too small or too slow
The sleeve arm should pull in a large, sweeping arc. Small pulls don't generate enough rotational force to wheel uke over.
Losing balance on the standing leg
Keep your right knee slightly bent and your centre of gravity over your right foot. Leaning too far forward causes you to fall as well.
Best Moments to Apply Hiza-Guruma
Hiza-Guruma is most effective when uke is moving forward and is taller than tori, allowing easy access to the knee. It works well when uke steps in with a deliberate stride. In randori, it can be initiated by stepping back to invite uke's advance. It is also effective as a counter to uke's stepping entry for a throw.
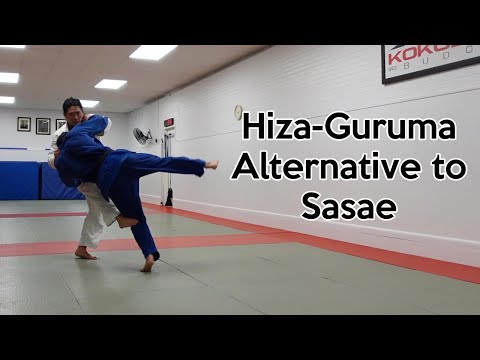
Variations of Hiza-Guruma
Combination Sequences
Attack these first